Admin Panel consist 22 modules listed below:
- Front Office – for all OPD appointment and reception/front office related activities like enquiries, calls, visitors, postal receive/dispatch
- OPD – Out Patient – for all OPD patient registration, visits, revisits, old OPD patients
- IPD – In Patient – for all IPD patients admission, consultant register, diagnosis, timeline, IPD charges, payments, bill and discharged ipd patients
- Pharmacy – for all medicine list, stock, and pharmacy bills
- Pathology – for all pathology test details and patient test records
- Radiology – for all radiology test details and patient test records
- Operation Theatre – for managing patient operation activities and operation records
- Blood Bank – for managing blood group available blood stock, donor details and blood issue details
- Insurance Management – Third Party Administrator for managing changes and records of insurance companies
- Finance – for managing general income and expense
- Ambulance – for managing ambulance vehicles and ambulance call details
- Birth And Death Record – for managing all details of newly born babies birth and patients death
- Human Resource – for all the information related to staff members can be manage here like staff search, profile, attendance, payroll, leaves
- Messaging – it works like a notice board basically a messaging system for communication to patient and staff
- Download Center – for managing downloadable documents that need to distribute staff
- Inventory – manage all the assets of your hospital with stocks and store under inventory module
- Front CMS – manage front website of Clinic Medix here by creating pages, menus, events, gallery, news
- Reports – all the various reports related to different modules can be found here
- Patient – all patient related details can be found here
- Notifications – all automated notifications can be found here
- Calendar & ToDo List – track and manage all daily/monthly activities and create your task in todo list
- Setup – configure Clinic Medix here for different settings like hospital, sessions, admin password, SMS, Paypal, backup / restore, languages
To understand how Clinic Medix works first we need to configure and setup it for our hospital. In this whole documentation we will consider our sample hospital which is Clinic Medix Center.
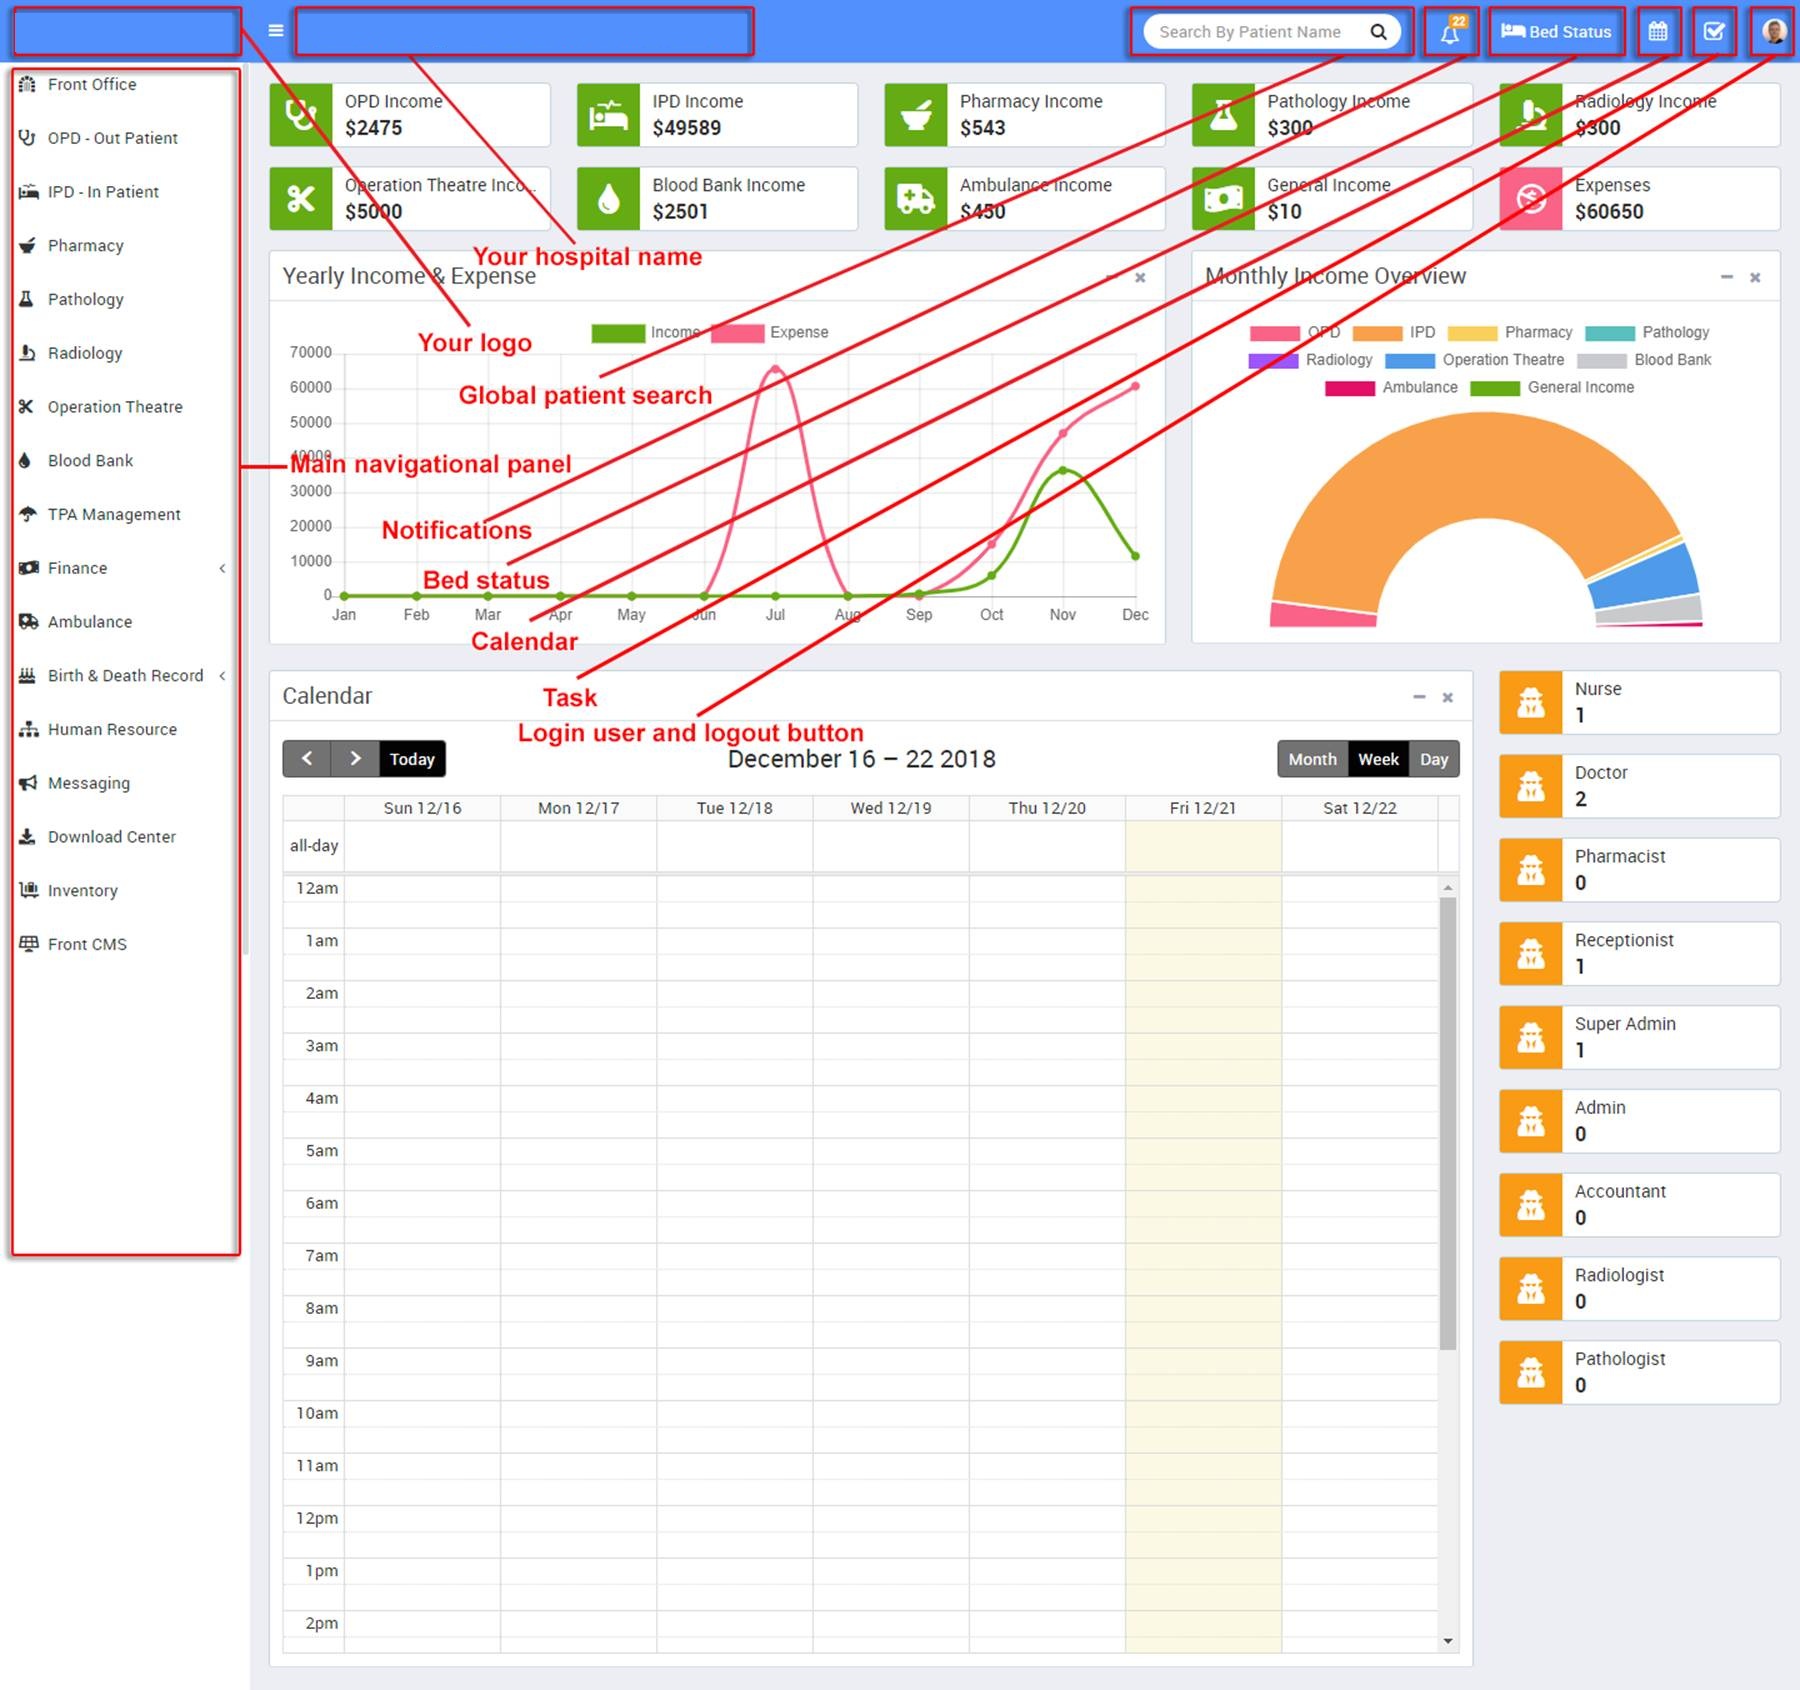
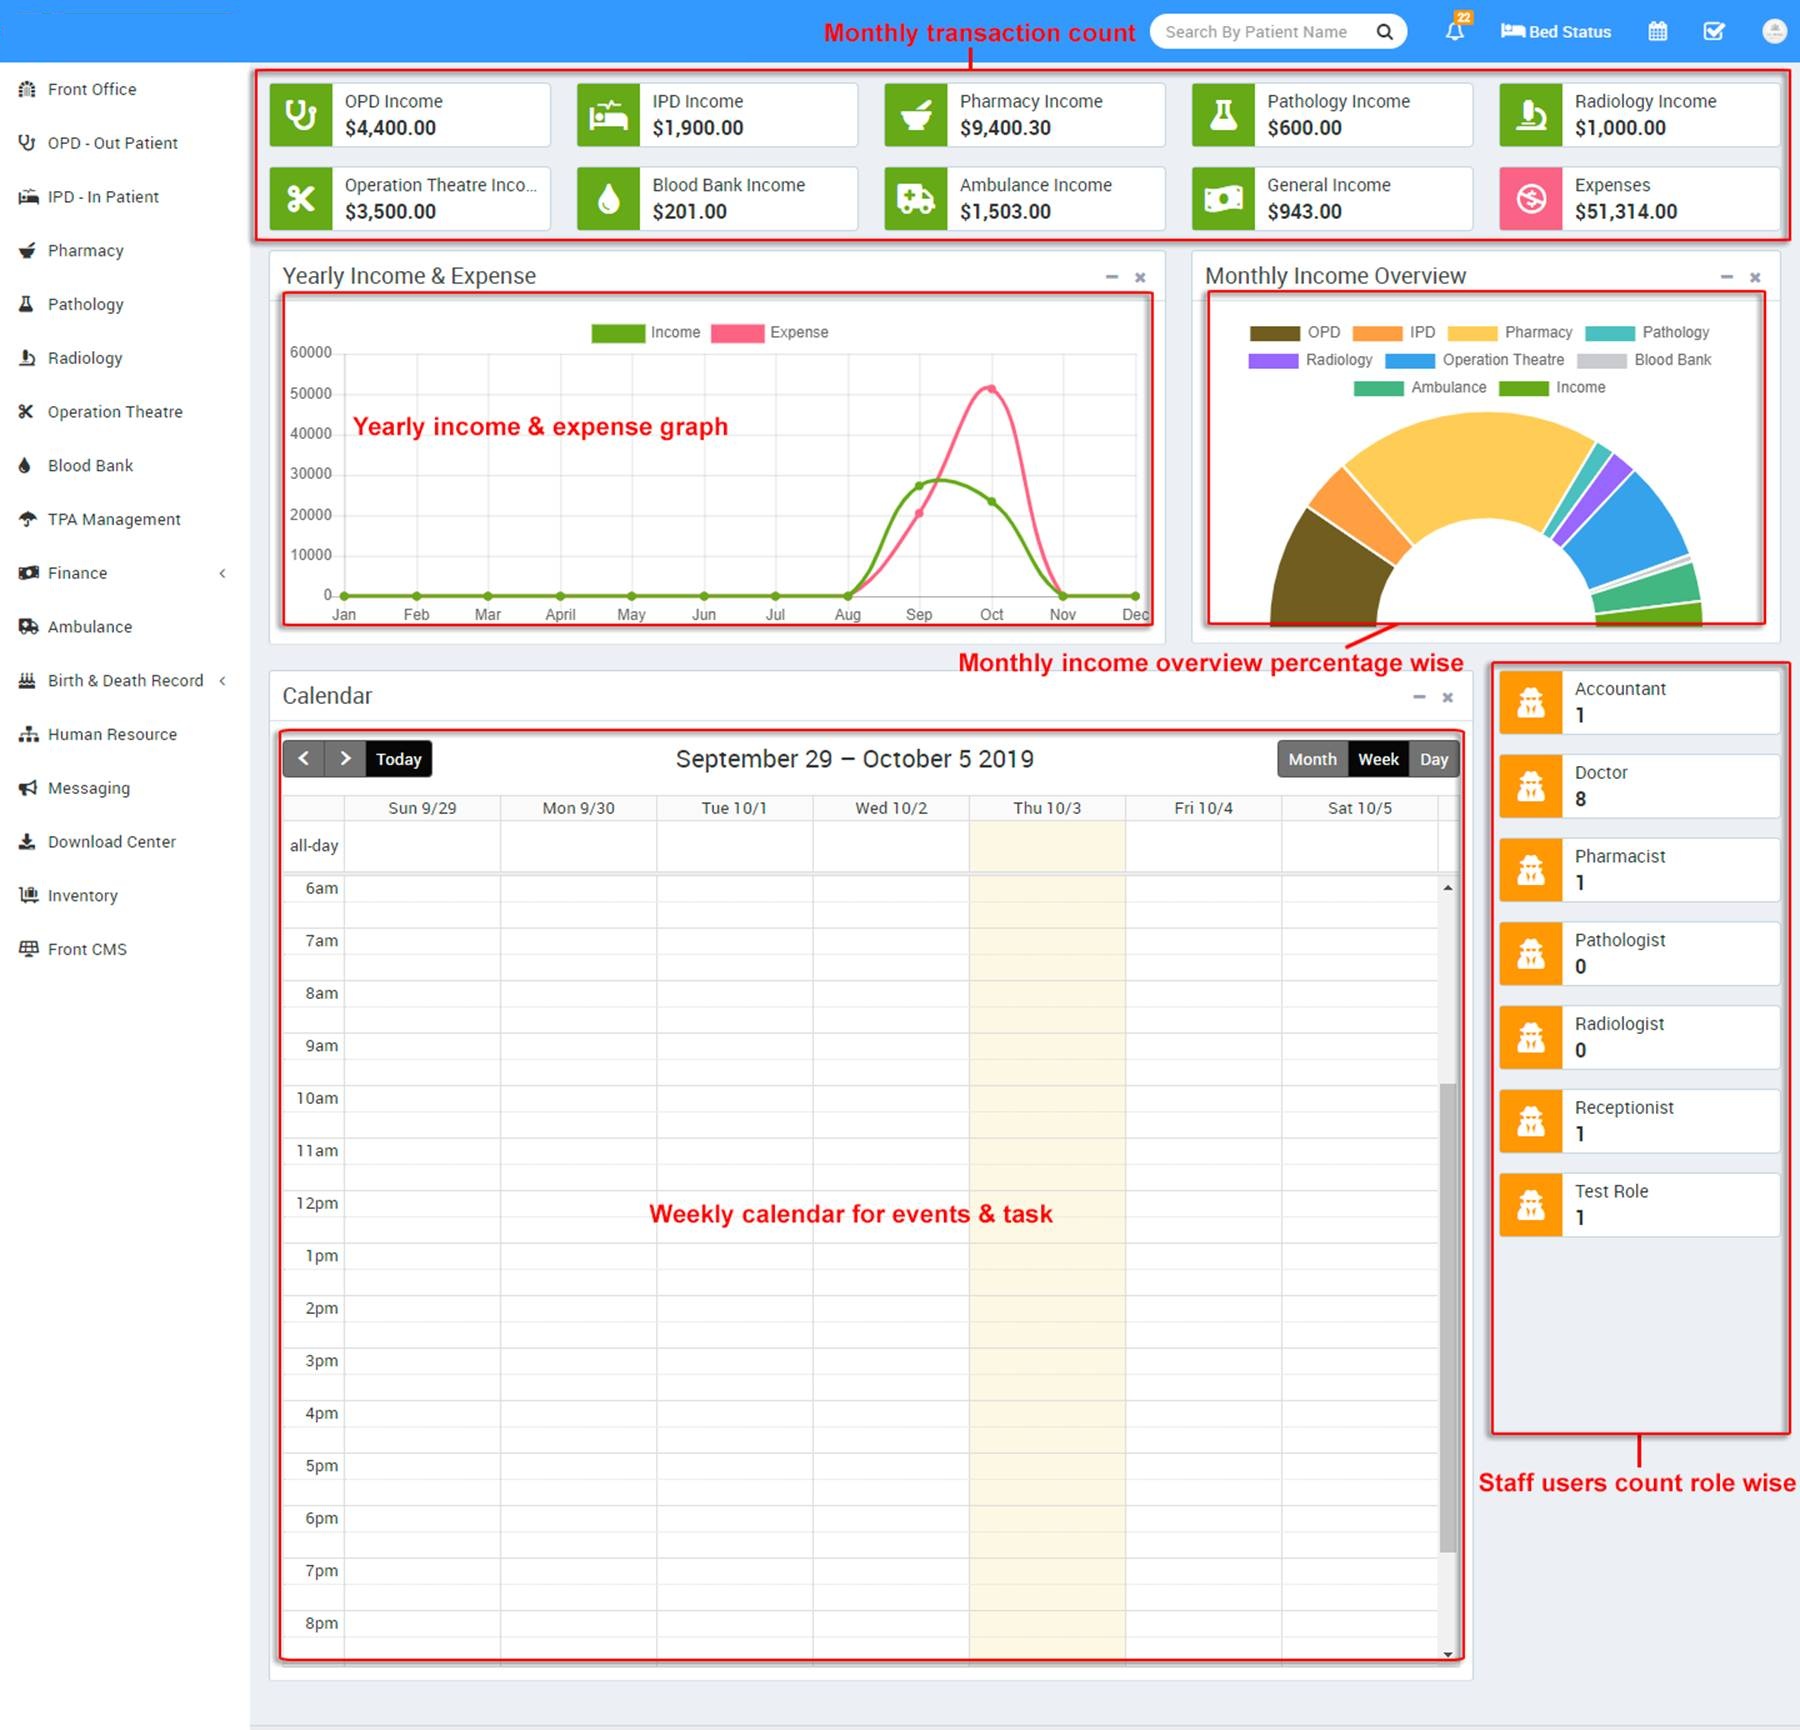
After successful login you will reach to Admin Dashboard. Below you can find navigational overview of user screen.
Steps to setup your Clinic Medix –
- In the Admin panel go to Setup > Settings > General Setting in upper right side click on Edit button to update your hospital data.
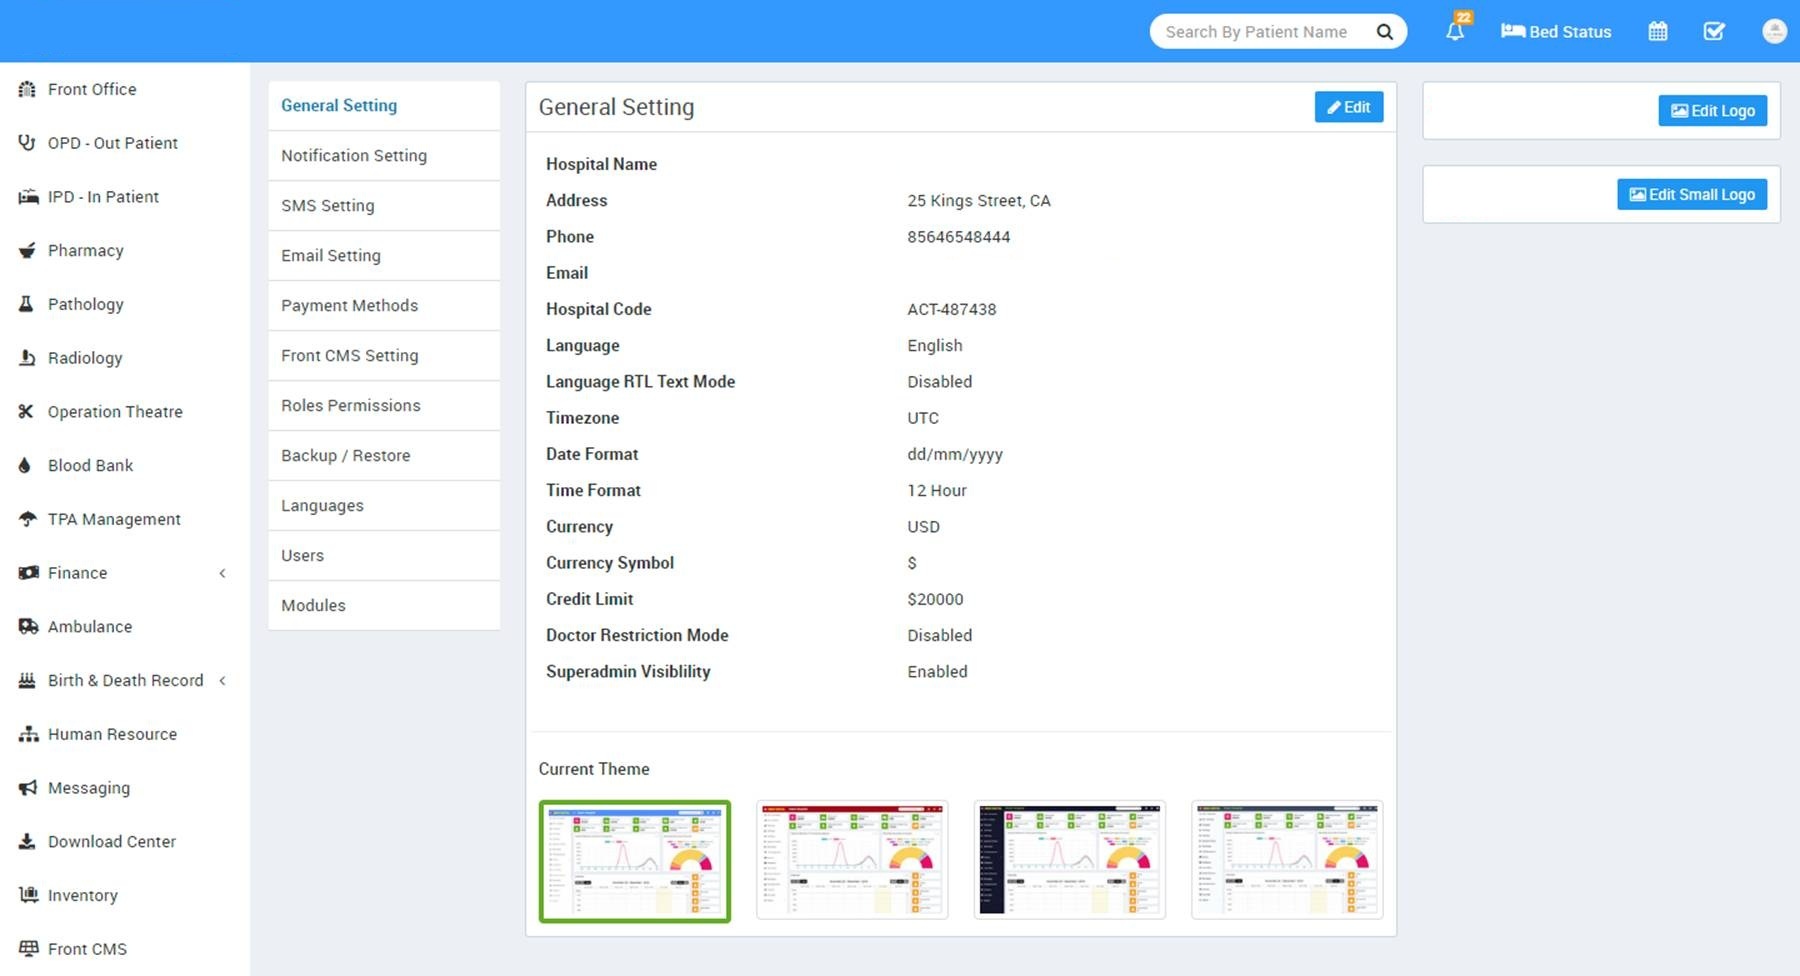
- Update your Hospital Name, Address, Phone, Email, Hospital Code (Hospital Code is your hospital registration / accreditation no), Language (language in which you want to run your Clinic Medix), Language RTL Text Mode (for Arabian side languages), Timezone, Time Format, Currency (ISO standard 3 digit currency code), Currency Symbol and Credit Limit (used for IPD module balance amount credit limit), Doctor Restriction Mode (if Doctor Restriction Mode is disabled then all doctors can see other doctors patients in their account and if Doctor Restriction Mode is enabled then doctors can see only their assigned patients in OPD, IPD, OT and Appointment) now click on Save button to update record, Superadmin Visibility (if Superadmin Visibility is disabled then superadmin will not be visible to system for other staff users and if Superadmin Visibility is enabled then other staff users can see superadmin in system) now click on Save button to update record.
- For updating your hospital logo click on right column Edit Logo buttons.
- For enabling automated email/sms notification on different events go to Setup > Settings > Notification Setting page.
- For automated SMS messaging add any one of available SMS Gateway with the required details from Setup > Settings > SMS Setting.
- For automated Email messaging by default SendMail is selected in Clinic Medix. If your hosting server supports SendMail then your will get emails by default otherwise you have to select SMTP email engine. For SMTP you can use any free or paid smtp service like Gmail. To enter your SMTP server details go to Setup > Settings > Email Setting > SMTP.
- To enabling online payment in Patient Panel update your payment gateway account details for this, go to Setup > Settings > Payment Methods select your appropriate payment gateway and add you payment gateway account details then click on save button and enable it from right side box.
- At this point we have completed basic settings of our hospital. Now we will add our hospital other details in Clinic Medix like Hospital Charges, Bed, Ward, Floor, Departments, Doctors etc.
- For adding Hospital Charges go to Setup > Hospital Charges, Here first we will add Charge Category, for this click on Add Charge Category button. Now enter Name, Description and select Charge Type like Procedures (is for general ipd charges like doctor visit), Investigations (is for pathology/radiology lab test or other investigations), Supplier (is for other things supply like oxygen charges), Operation Theatre (is for operation theatre charges) and Other (is for other miscellaneous charges).

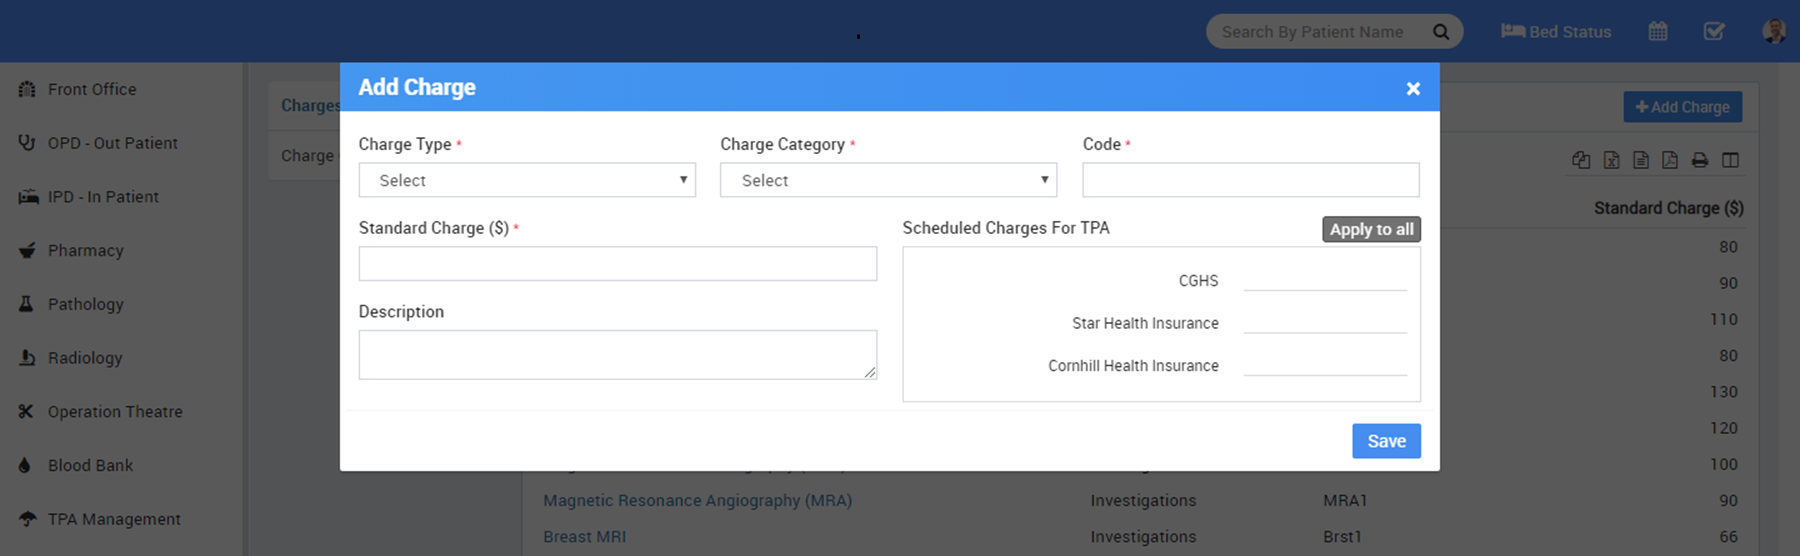
Now we will add Charges for this click on Add Charge button. Now select Charge Type, Charge Category, enter Charge Code (it is like short code to differentiate two charges for same charge type and charge category), then enter Standard Charge, Description and if there is any Insurance (Third Party Administrator or Insurance organization) is present then enter Scheduled Charge for this also)
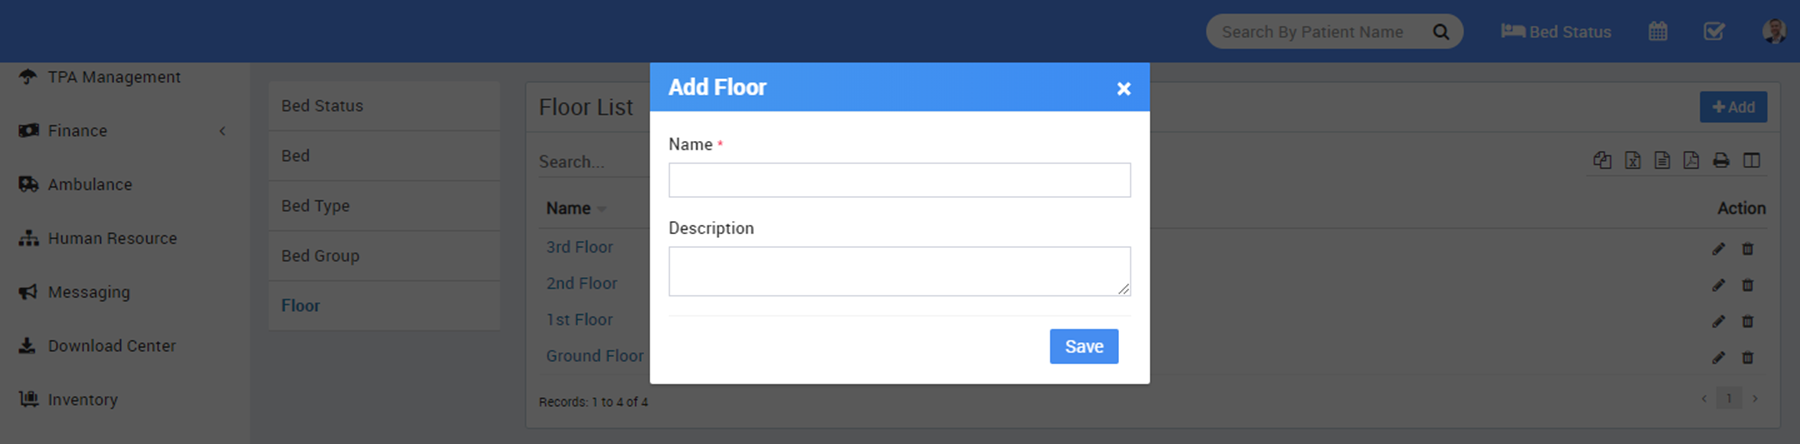
- For adding Bed and their details go to Setup > Bed. Here first we will add Floors, Bed Groups, Bed Type. To add Floors click on + Add button then enter Floor Name and Description.
To add Bed Group click on + Add button then enter Bed Group Name, select Floor and enter Description.

To to add Bed Type click on + Add button then enter Bed Type Name.

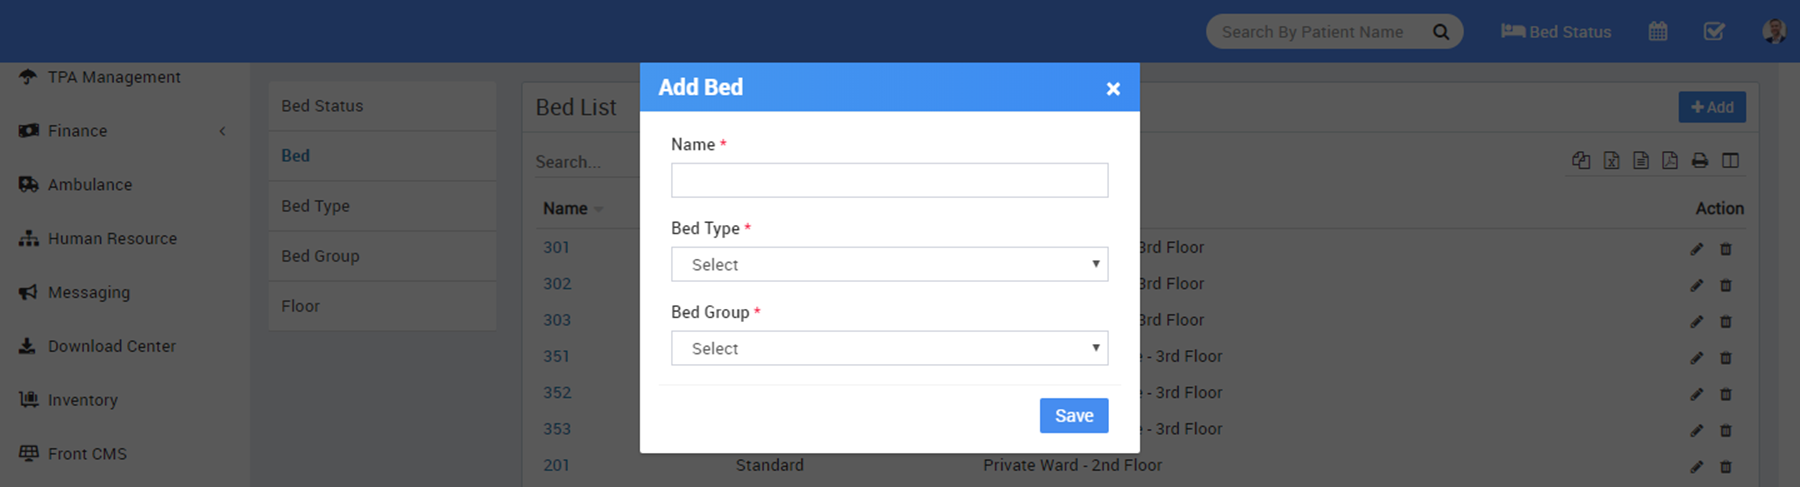
Now to add Bed click on + Add button then enter Bed Name, select Bed Type and Bed Group.
At Bed Status page we can check current status of all bed.

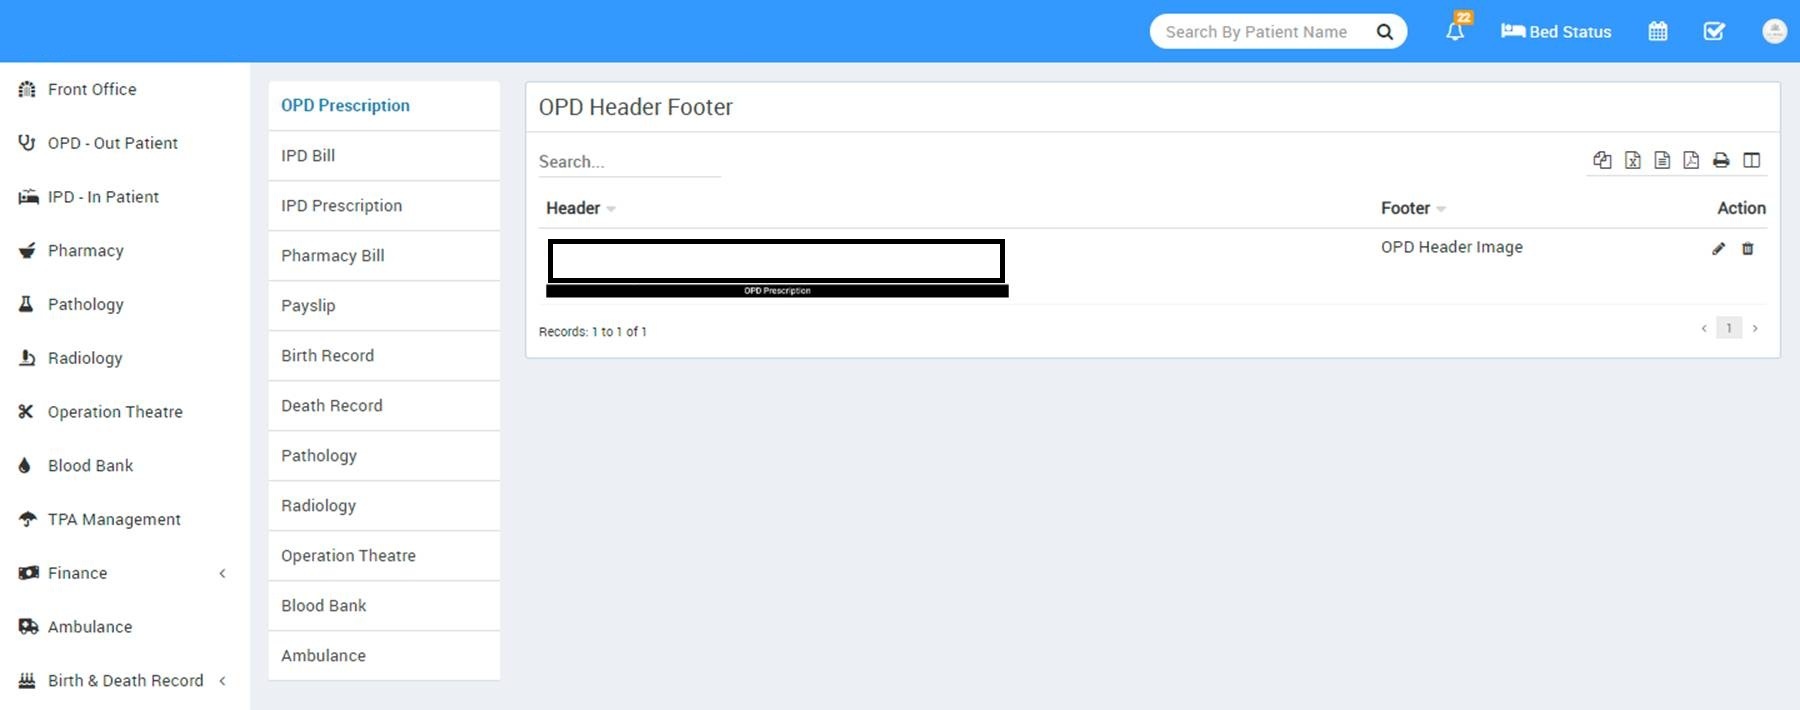
- For adding header and footer in OPD prescription, IPD Bill, Pharmacy Bill, Payslip go to Setup > Print Header Footer
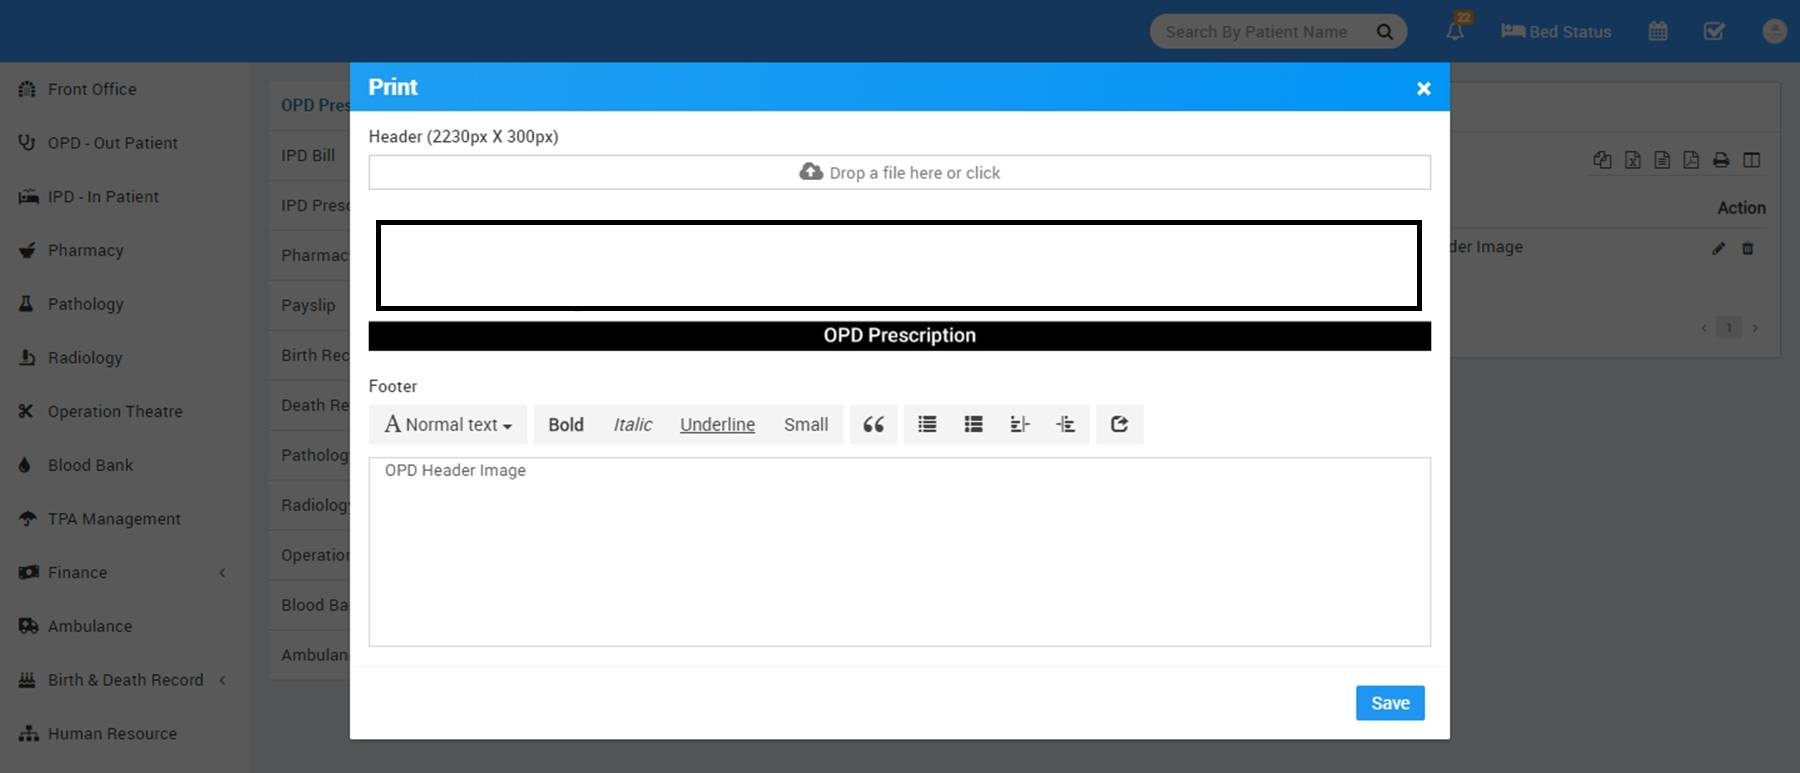
To add OPD Prescription Header and Footer click on + Add button now select Header image then enter Footer text.
To add IPD Bill Header and Footer click on + Add button now select Header image then enter Footer text.

To add Pharmacy Bill Header and Footer click on + Add button now select Header image then enter Footer text.

To add Payroll Slip Header and Footer click on + Add button now select Header image Then enter Footer text.

To add other modules print header footer do the same thing.
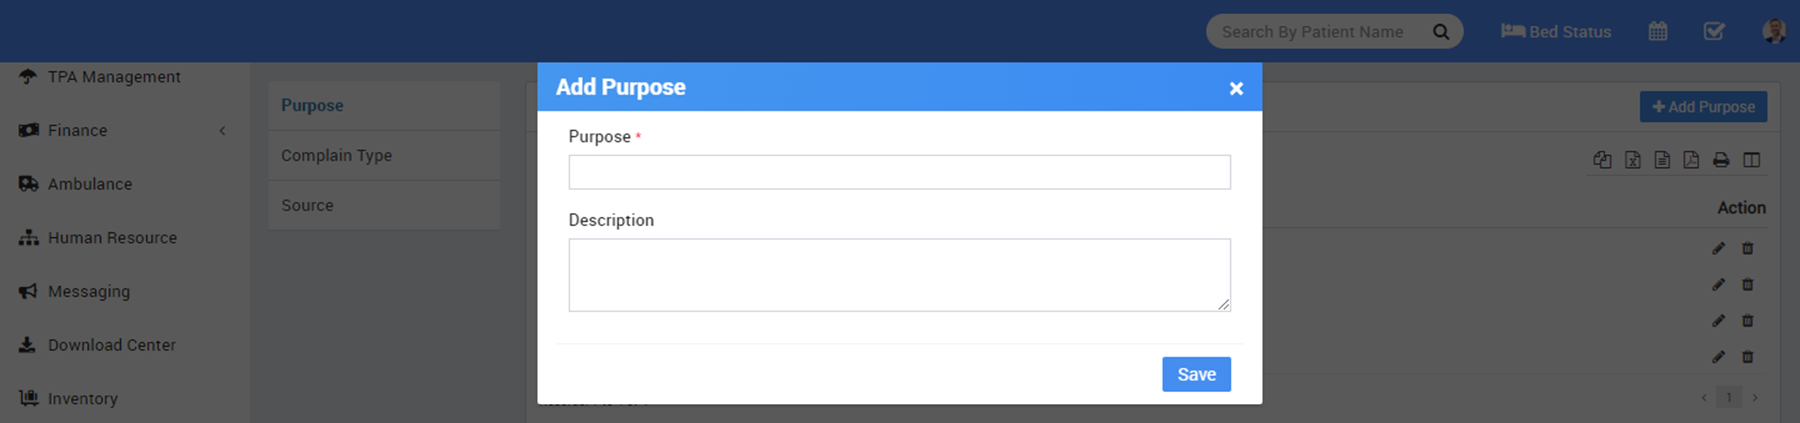
- To setup Front Office go to Setup > Front Office.
To add Visitor Purpose click on + Add Purpose button now enter Purpose and Description.
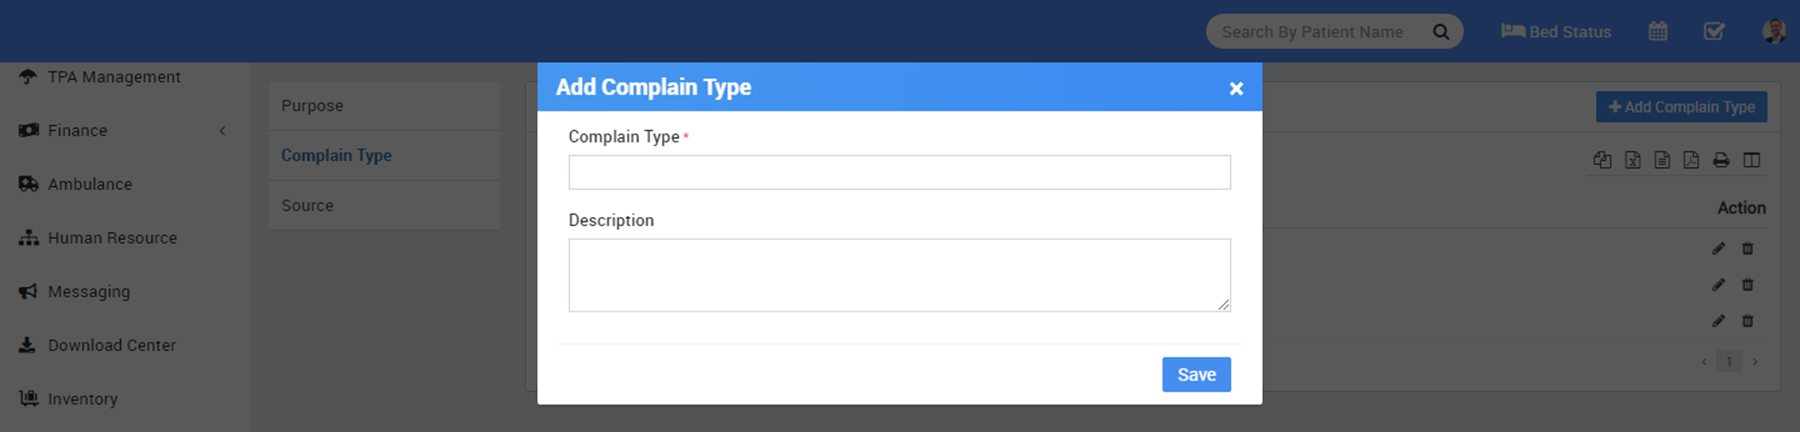
To add Complain Type click on + Add Complain Type button now enter Complain Type and Description.
To add Complain Source click on + Add Source button now enter Source and Description.

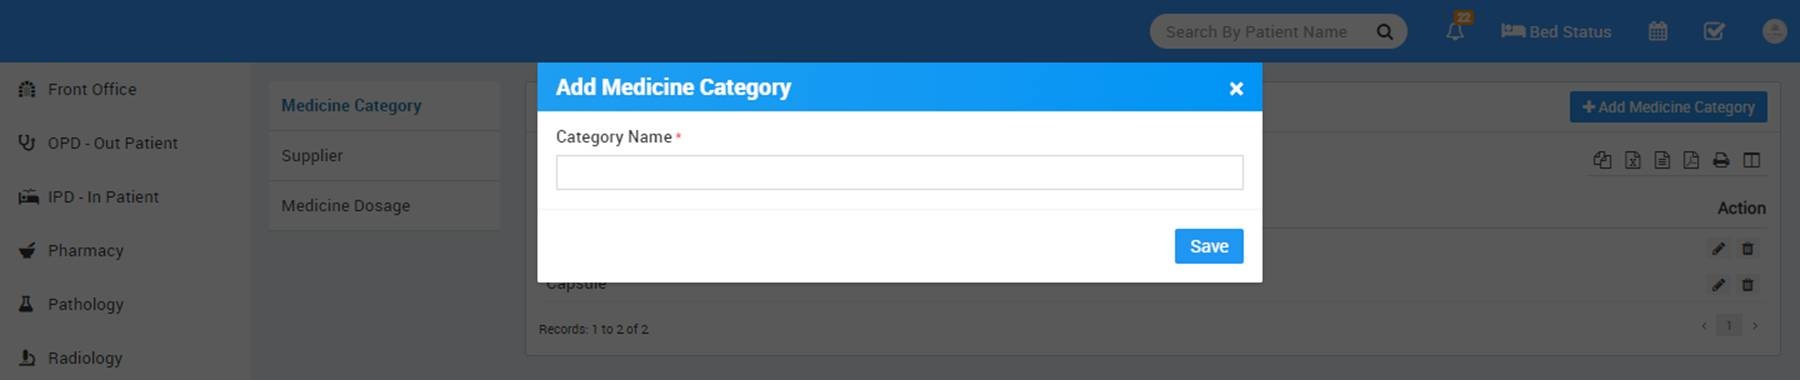
- To setup Pharmacy go to Setup > Pharmacy.
To add Medicine Category click on + Add Medicine Category now enter Medicine Category Name.
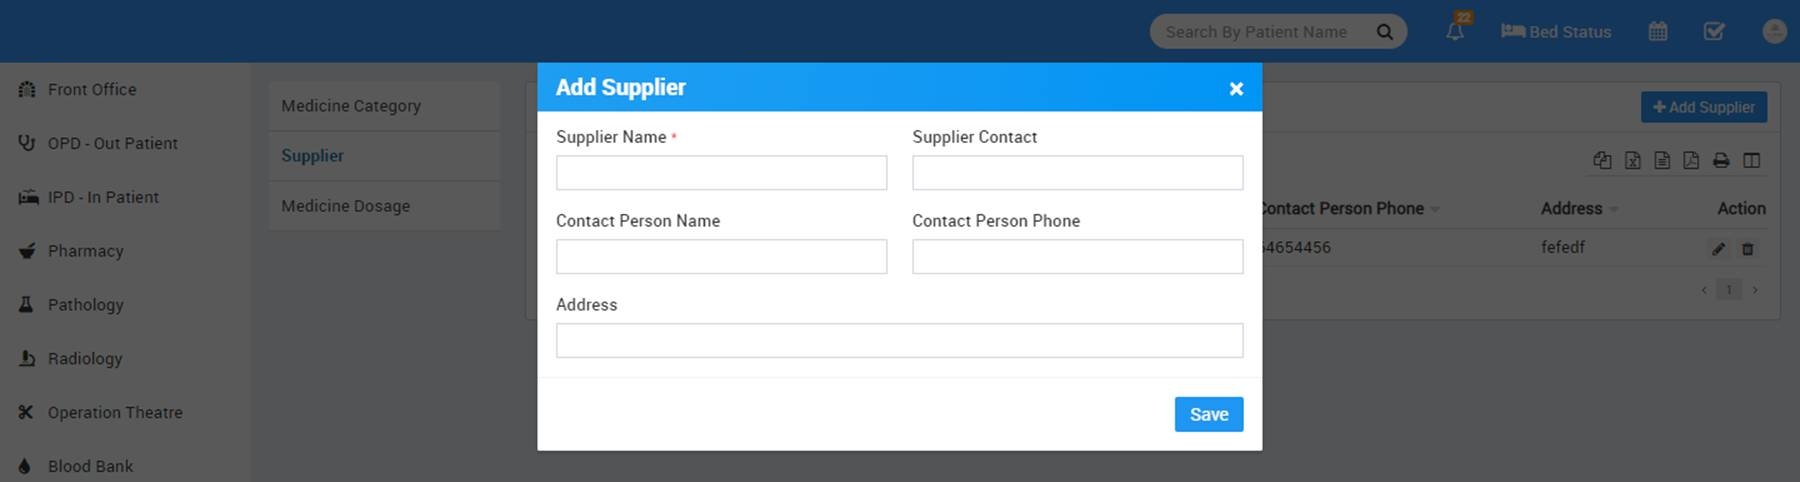
To add Supplier click on + Add Supplier now enter Supplier Name, Supplier Contact, Contact Person Name, Contact Person Phone, Address.
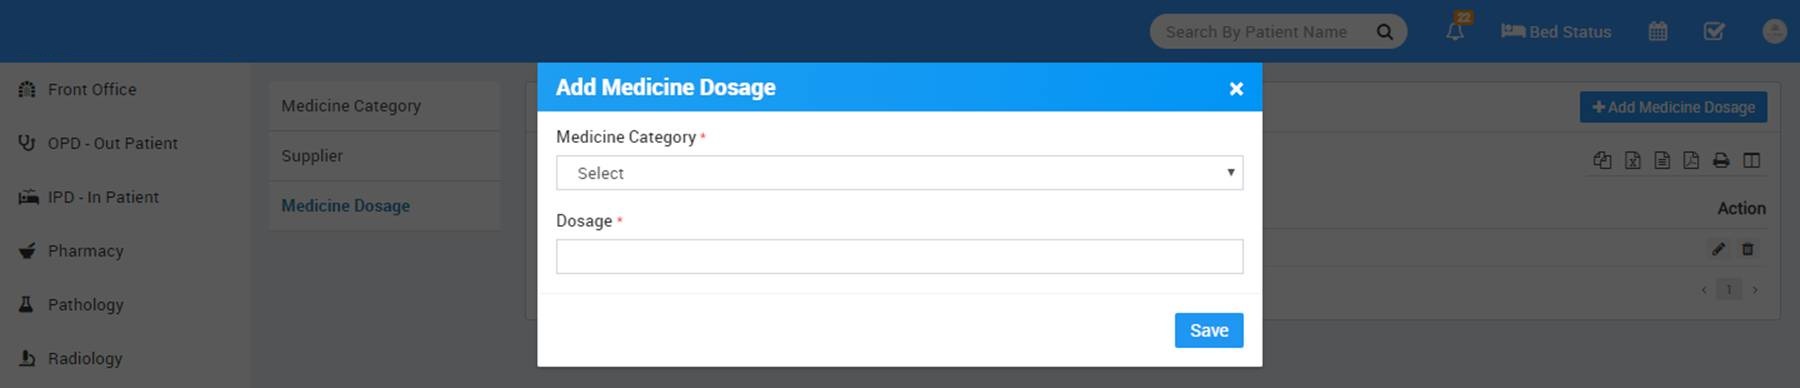
To add Medicine Dosage click on + Add Medicine Dosage now enter Medicine Category, Dosage.
- To setup Pathology go to Setup > Pathology.
To add Pathology Category click on + Add Pathology Category now enter Pathology Category Name.

- To setup Radiology go to Setup > Radiology.
To add Radiology Category click on + Add Radiology Category now enter Radiology Category Name.

- To setup Finance go to Setup > Finance.
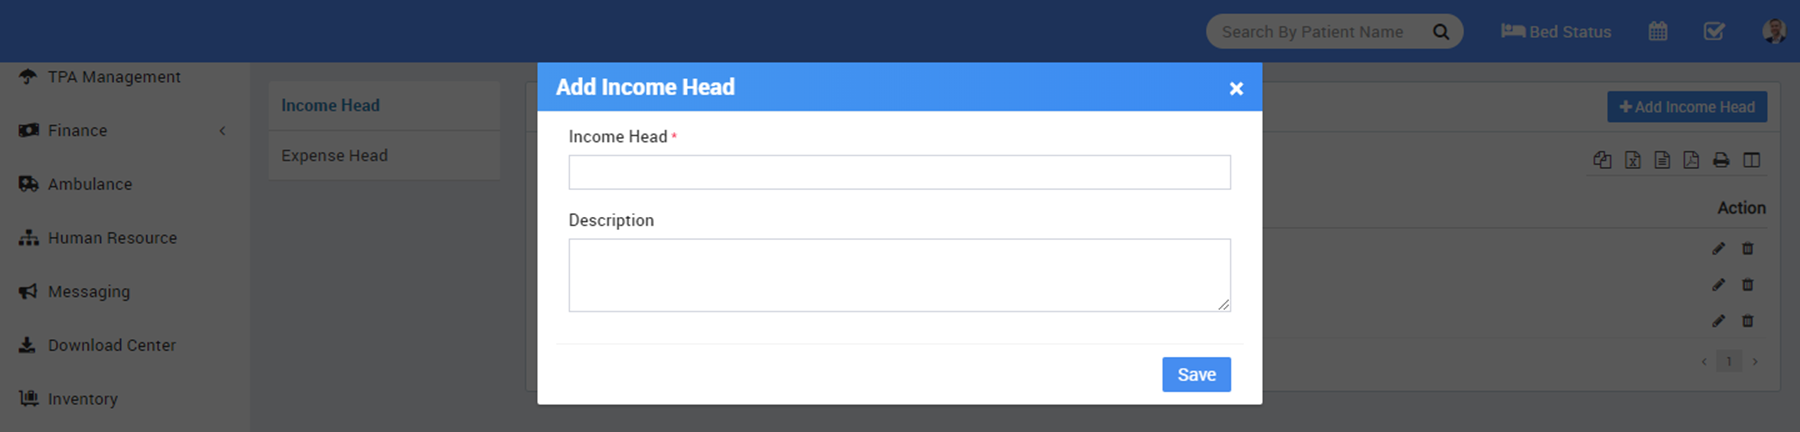
To add Income Head click on + add Income Head button now enter Income Head and Description.
To add Expense Head click on + Add Expense Head button now enter Expense Head and Description.

- To setup Birth & Death Record go to Setup > Birth & Death Record.
To add Birth Record Custom Fields click on + Add button now enter Name and Visibility.

To add Death Record Custom Fields click on + Add button now enter Name and Visibility.

- To setup Human Resource go to Setup > Human Resource.
To add Leave Type click on + Add Leave Type button now enter Leave Type Name.

To add Department click on + Add Department button now enter Department Name.

To add Designation click on + Add Designation button now enter Designation Name.

- To setup Inventory go to Setup > Inventory.
To add Item Category click on + Add Item Category now enter Item Category and Description.

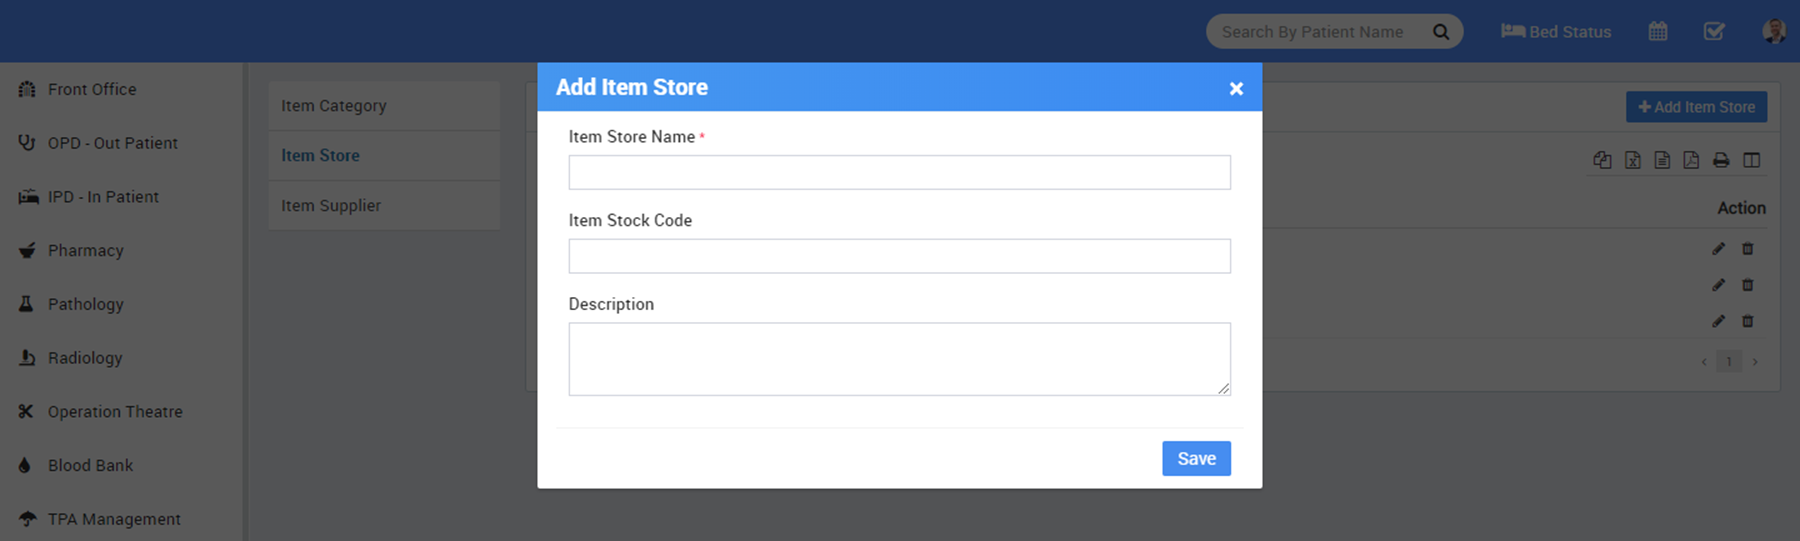
To add Item Store click on + Add Item Store button now enter Item Store Name, Item Stock Code and Description.
To add Item Supplier click on + Add Item Supplier button now enter Item Supplier Name, Phone, Email, Contact Person Name, Address, Contact Person Phone, Contact Person Email and Description.

- Great! you have completed your Clinic Medix setup. Now further we will understand working of all the modules one by one in detail.